


A Beginner’s Guide to Simple Repeat Patterns in Procreate
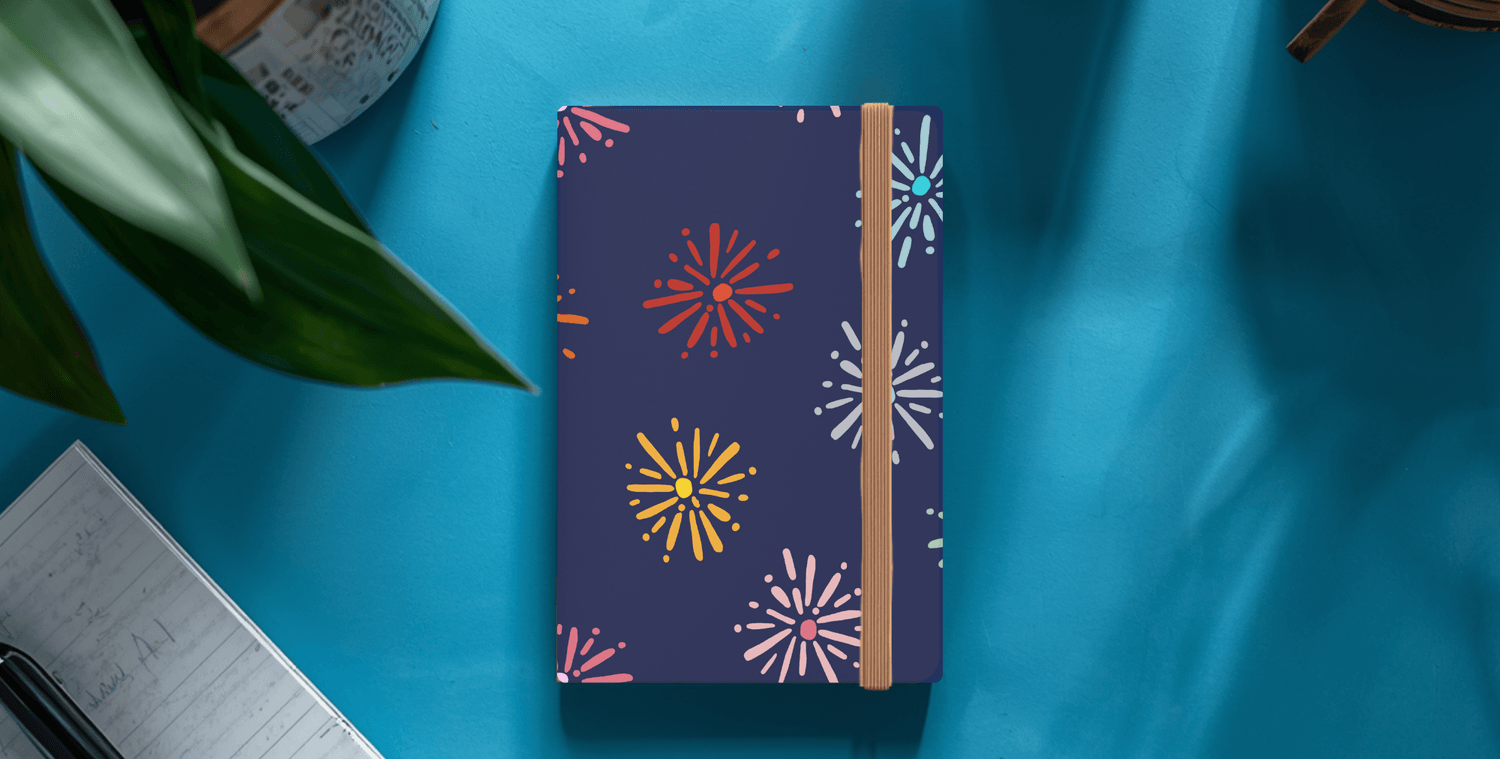
Patterns are everywhere — from wrapping paper and notebooks to fabric, packaging, and stationery. Once you start noticing them, you’ll see them all around you.
The good news is that creating patterns doesn’t have to be complicated. In fact, most repeat designs are built from just a few simple structures.
Here are three of the most common repeat patterns you can create.
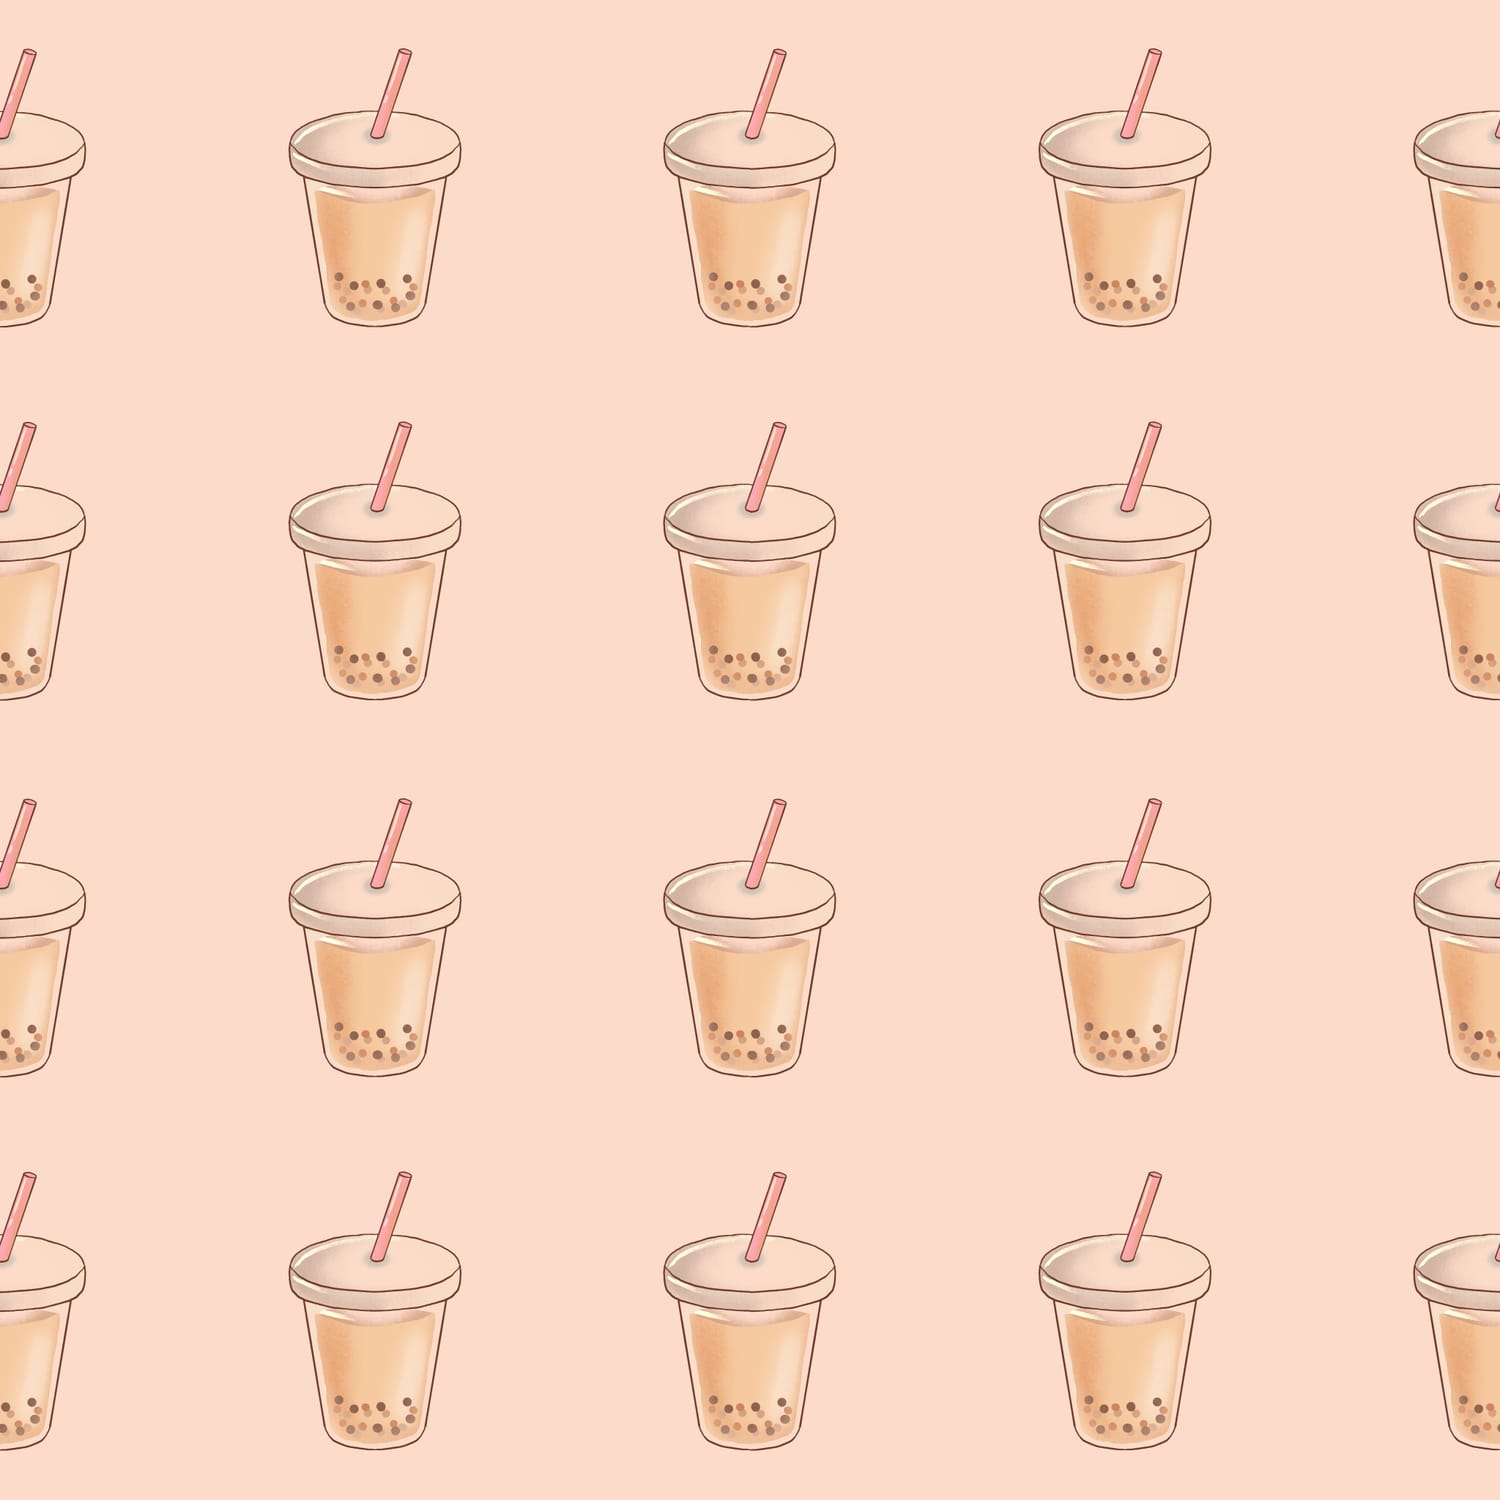
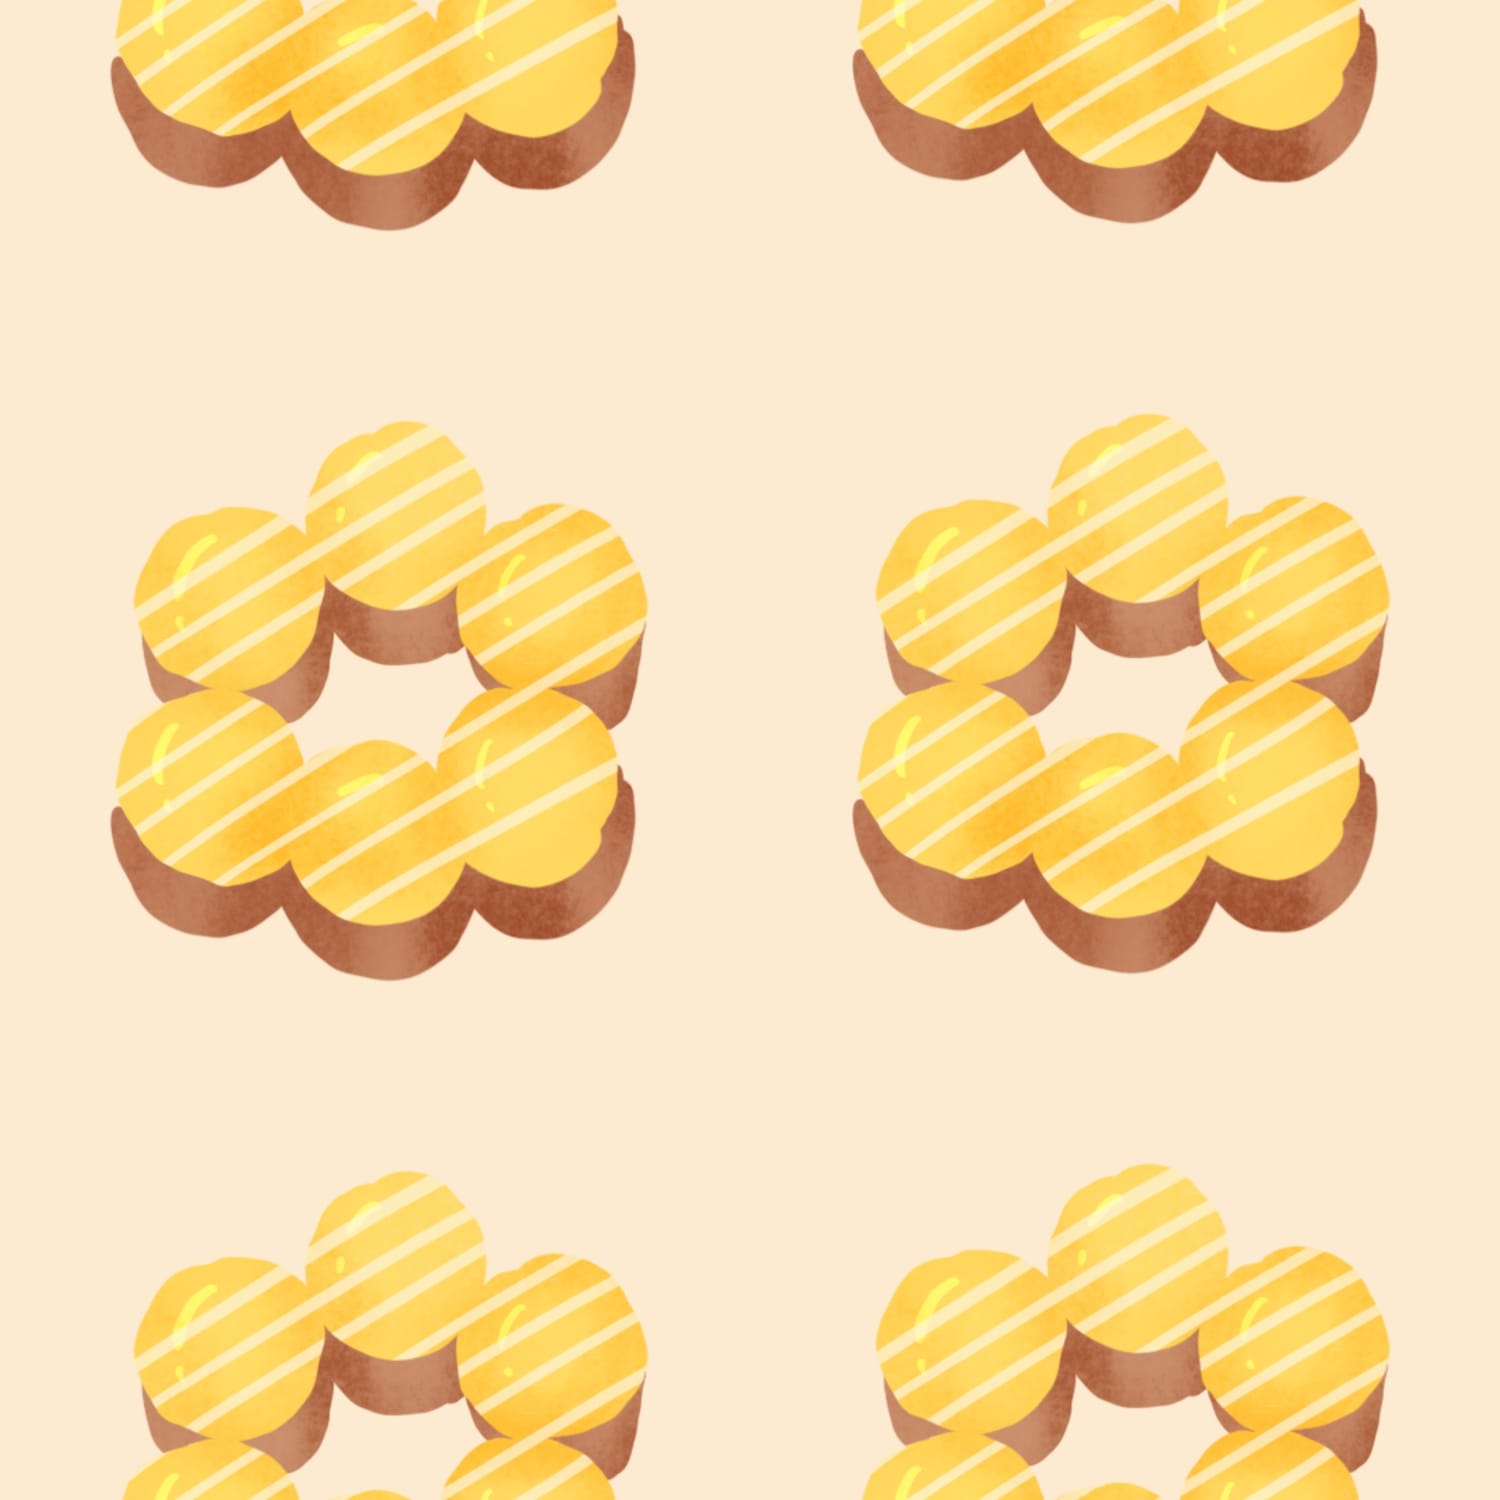
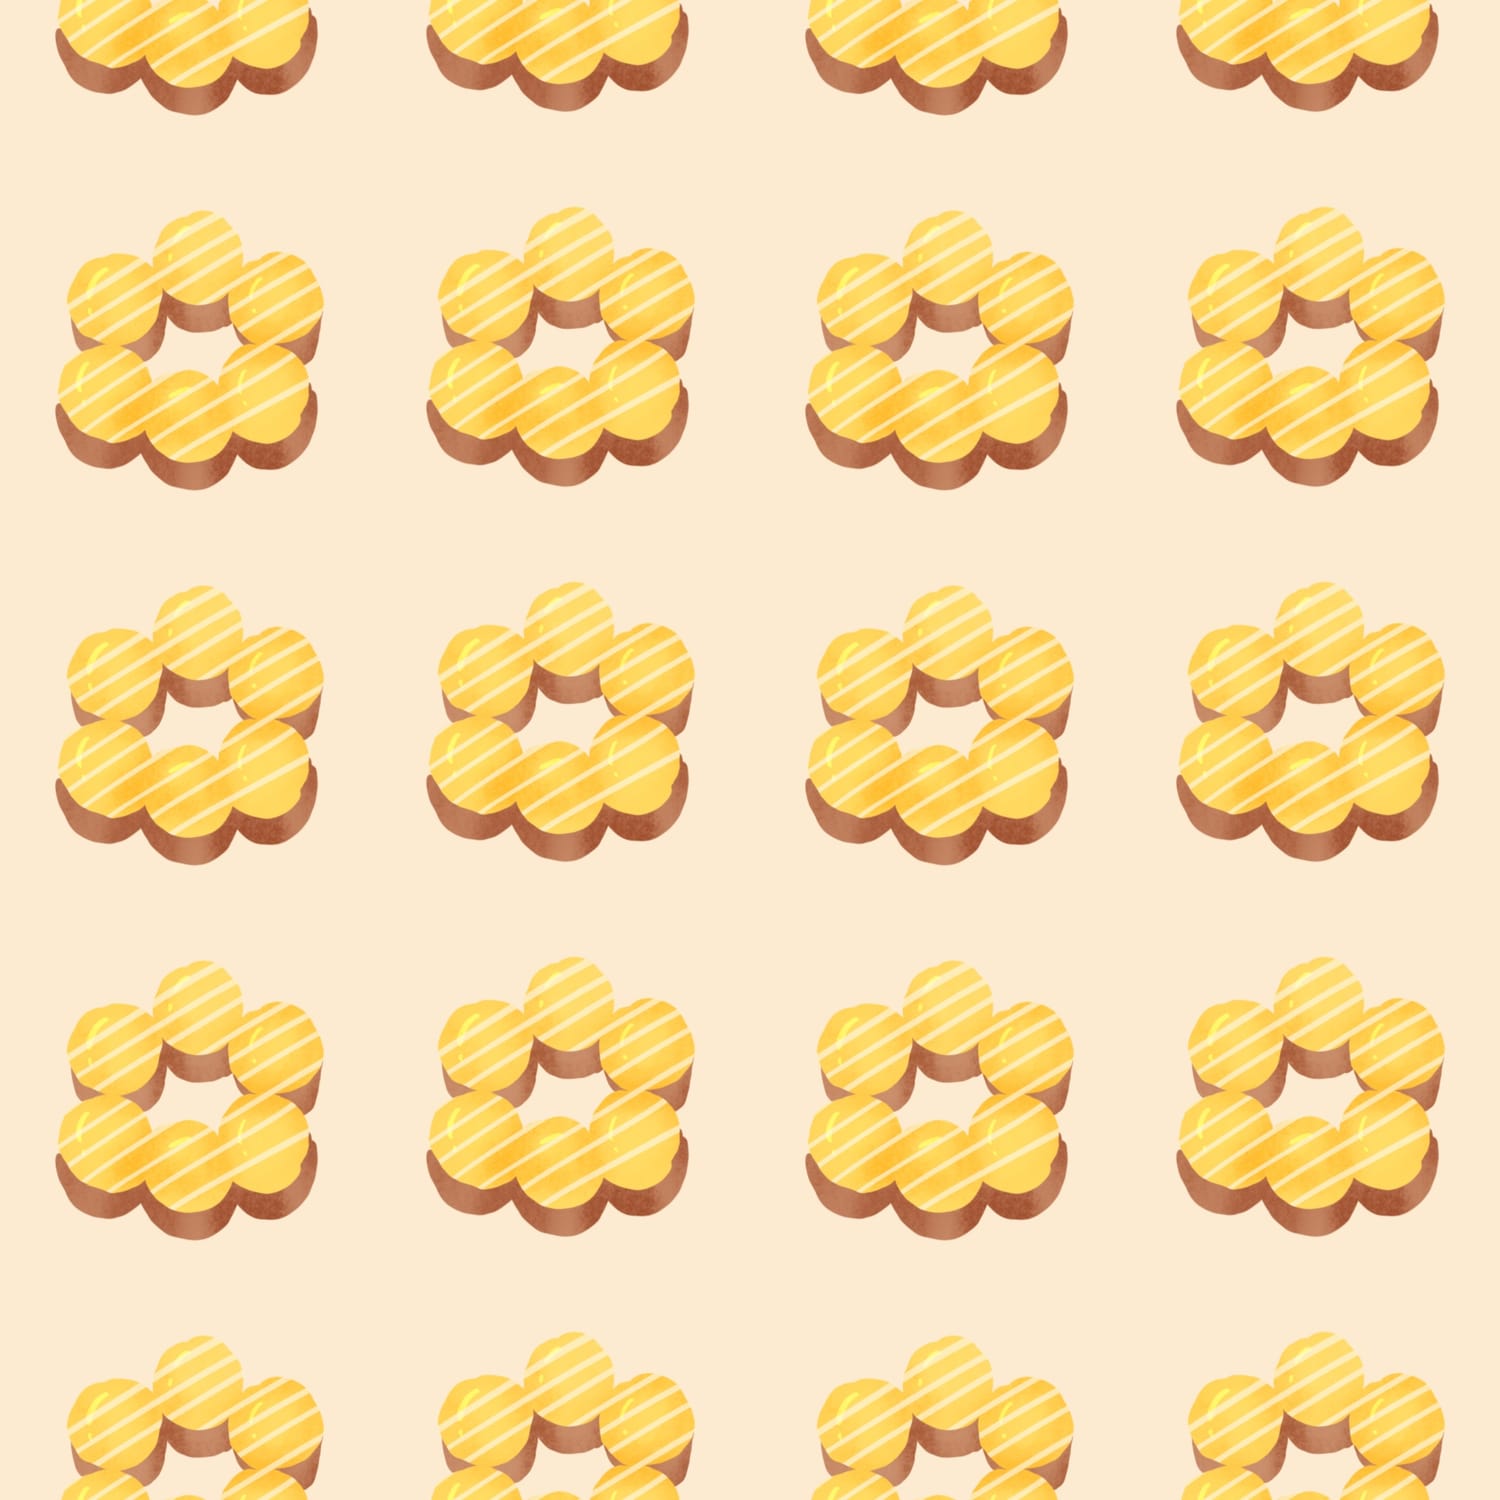
1. Grid Repeat
A grid repeat is the most straightforward type of pattern.
Each motif is placed in evenly spaced rows and columns, just like a grid. Every row lines up perfectly with the one above and below it.
This type of repeat works well for:
simple icons
small illustrations
clean, minimal designs
If you're just starting out with pattern design, grid repeats are a great place to begin.
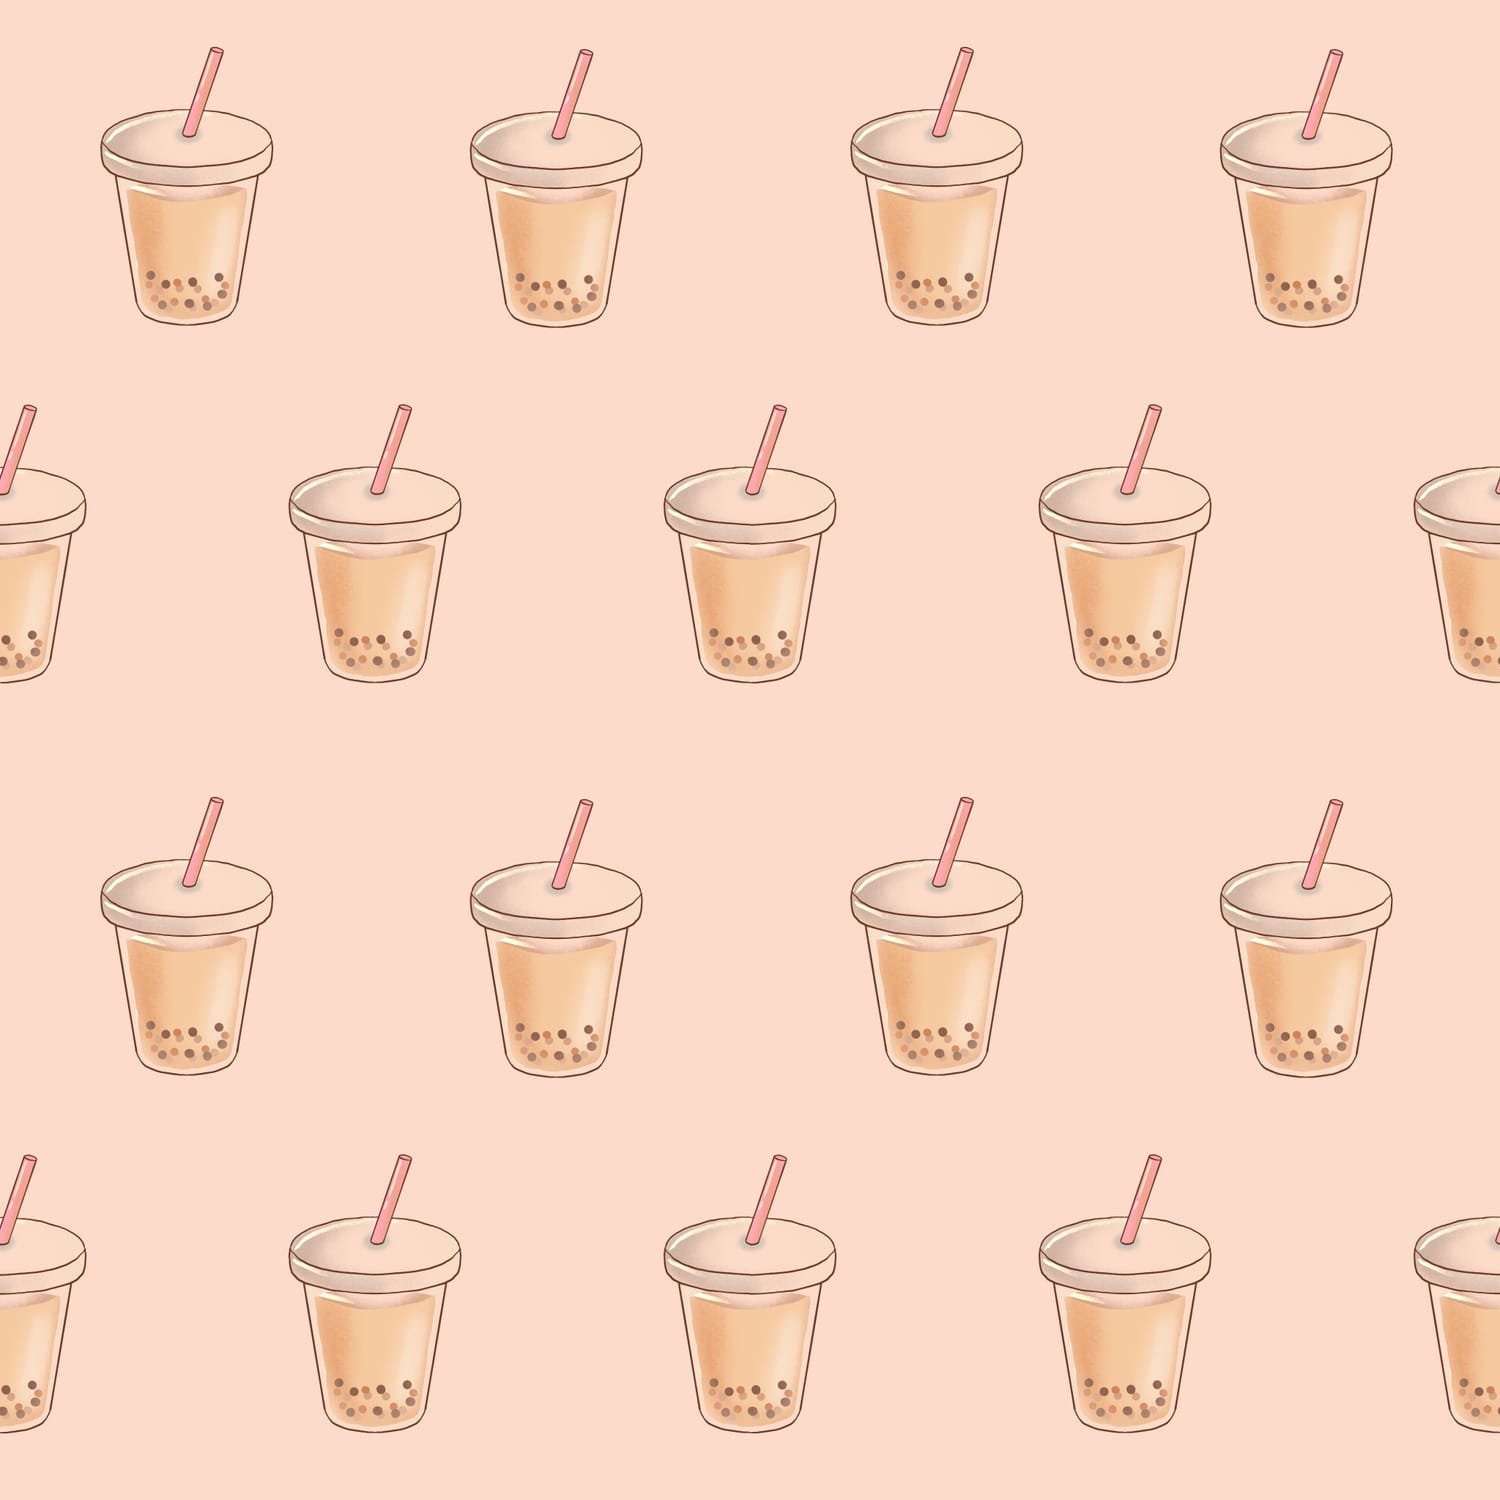
2. Brick Repeat
A brick repeat is similar to how bricks are arranged in a wall.
Instead of every row lining up perfectly, each row is shifted slightly to the side. This creates a staggered effect that makes the pattern feel more dynamic and natural.
Brick repeats are great for:
food illustrations
florals
playful motifs
Because the artwork isn’t perfectly lined up, the pattern tends to feel more organic.
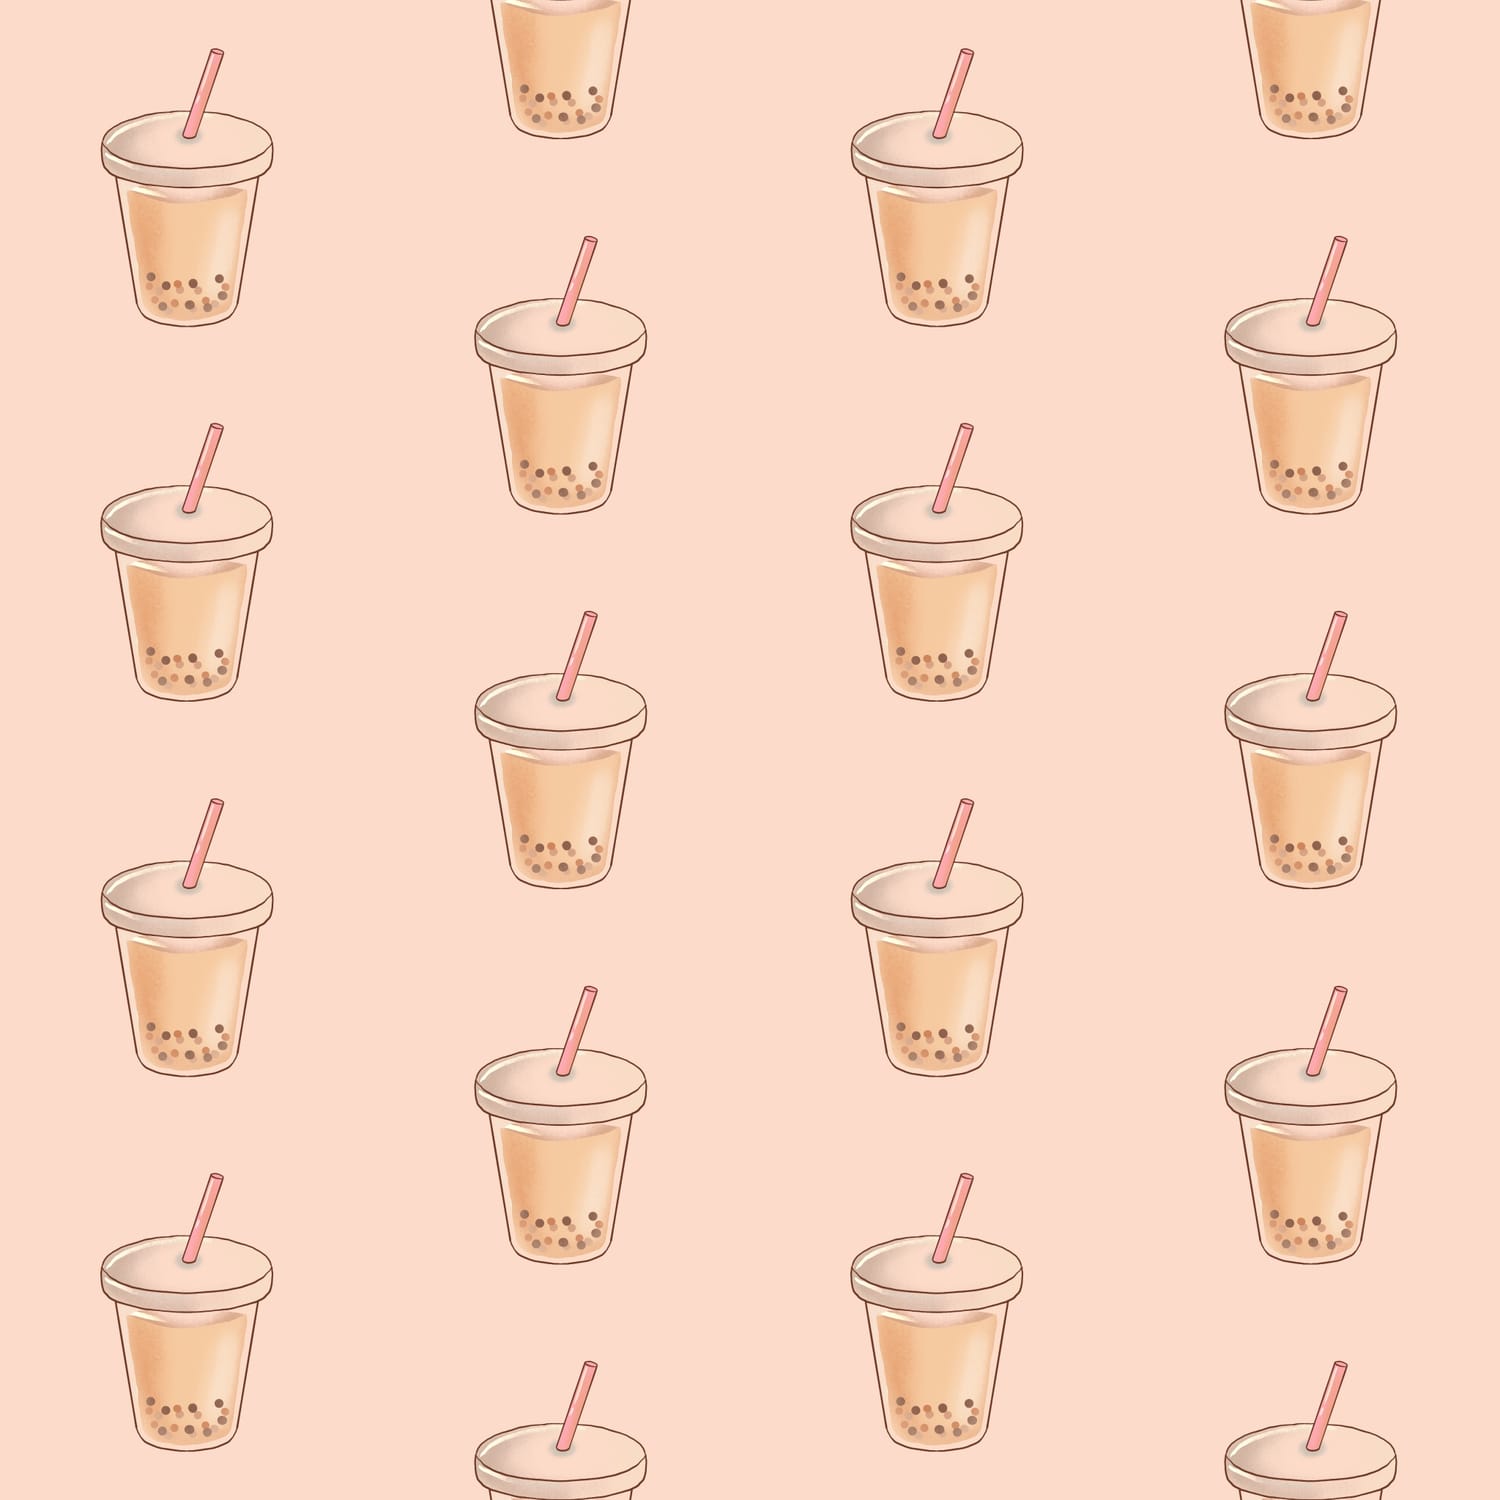
3. Half Drop Repeat
A half drop repeat works vertically instead of horizontally.
Imagine a grid of illustrations. In a half drop pattern, each column is shifted halfway down compared to the column next to it.
This type of repeat is often used in:
fabric design
wallpaper
surface pattern collections
It creates a flowing layout that feels less rigid than a traditional grid.
Setting Up Your Canvas in Procreate
Before we start building the pattern, let’s set up the canvas.
A good size to begin with is:
2400 × 2400 pixels at 300 DPI
This size is large enough to create patterns that can work for both digital and print projects.
For the color profile:
CMYK is best if you plan to print your designs
RGB or Display P3 works well for digital products
Creating a Simple Grid Pattern
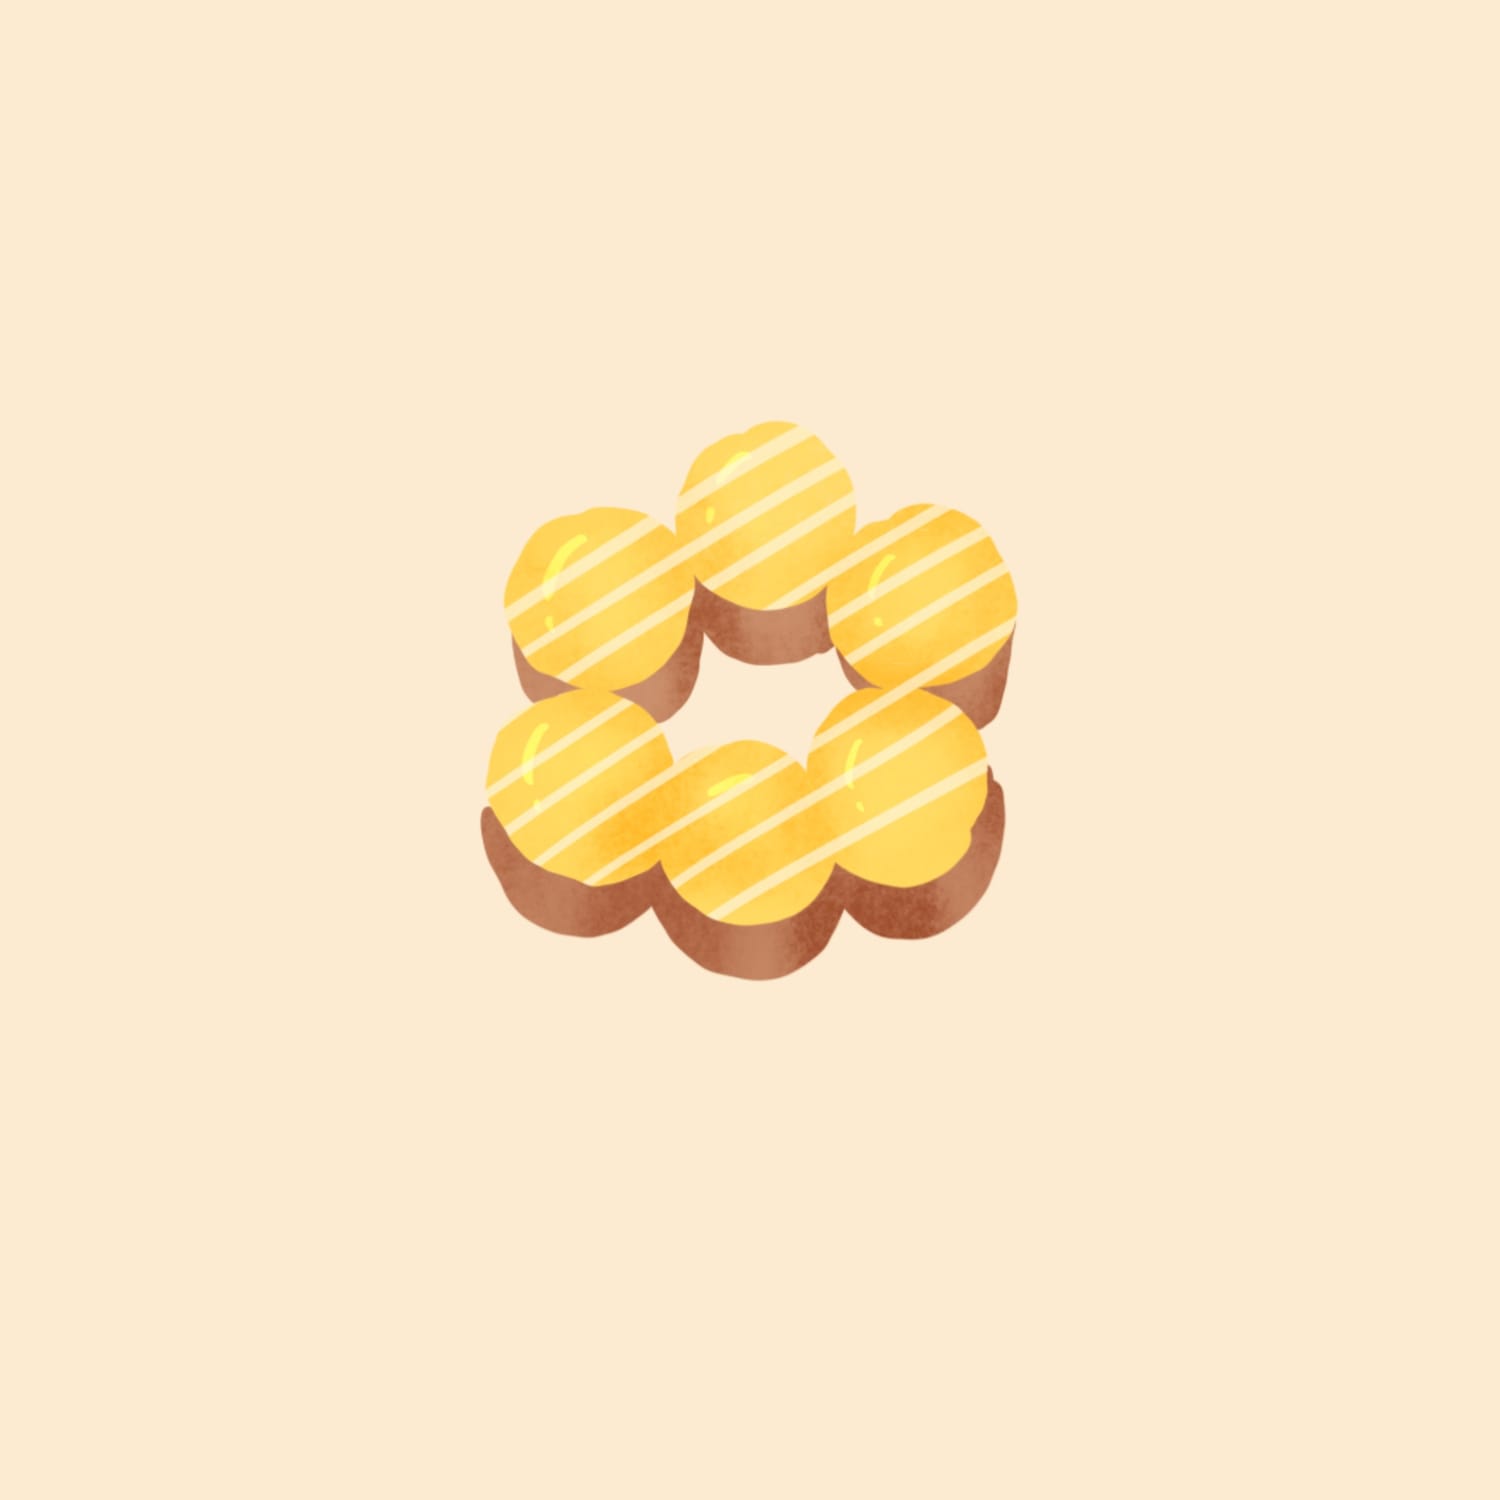
Step 1 — Start with Your Illustration
Choose a simple illustration and place it in the center of your canvas.
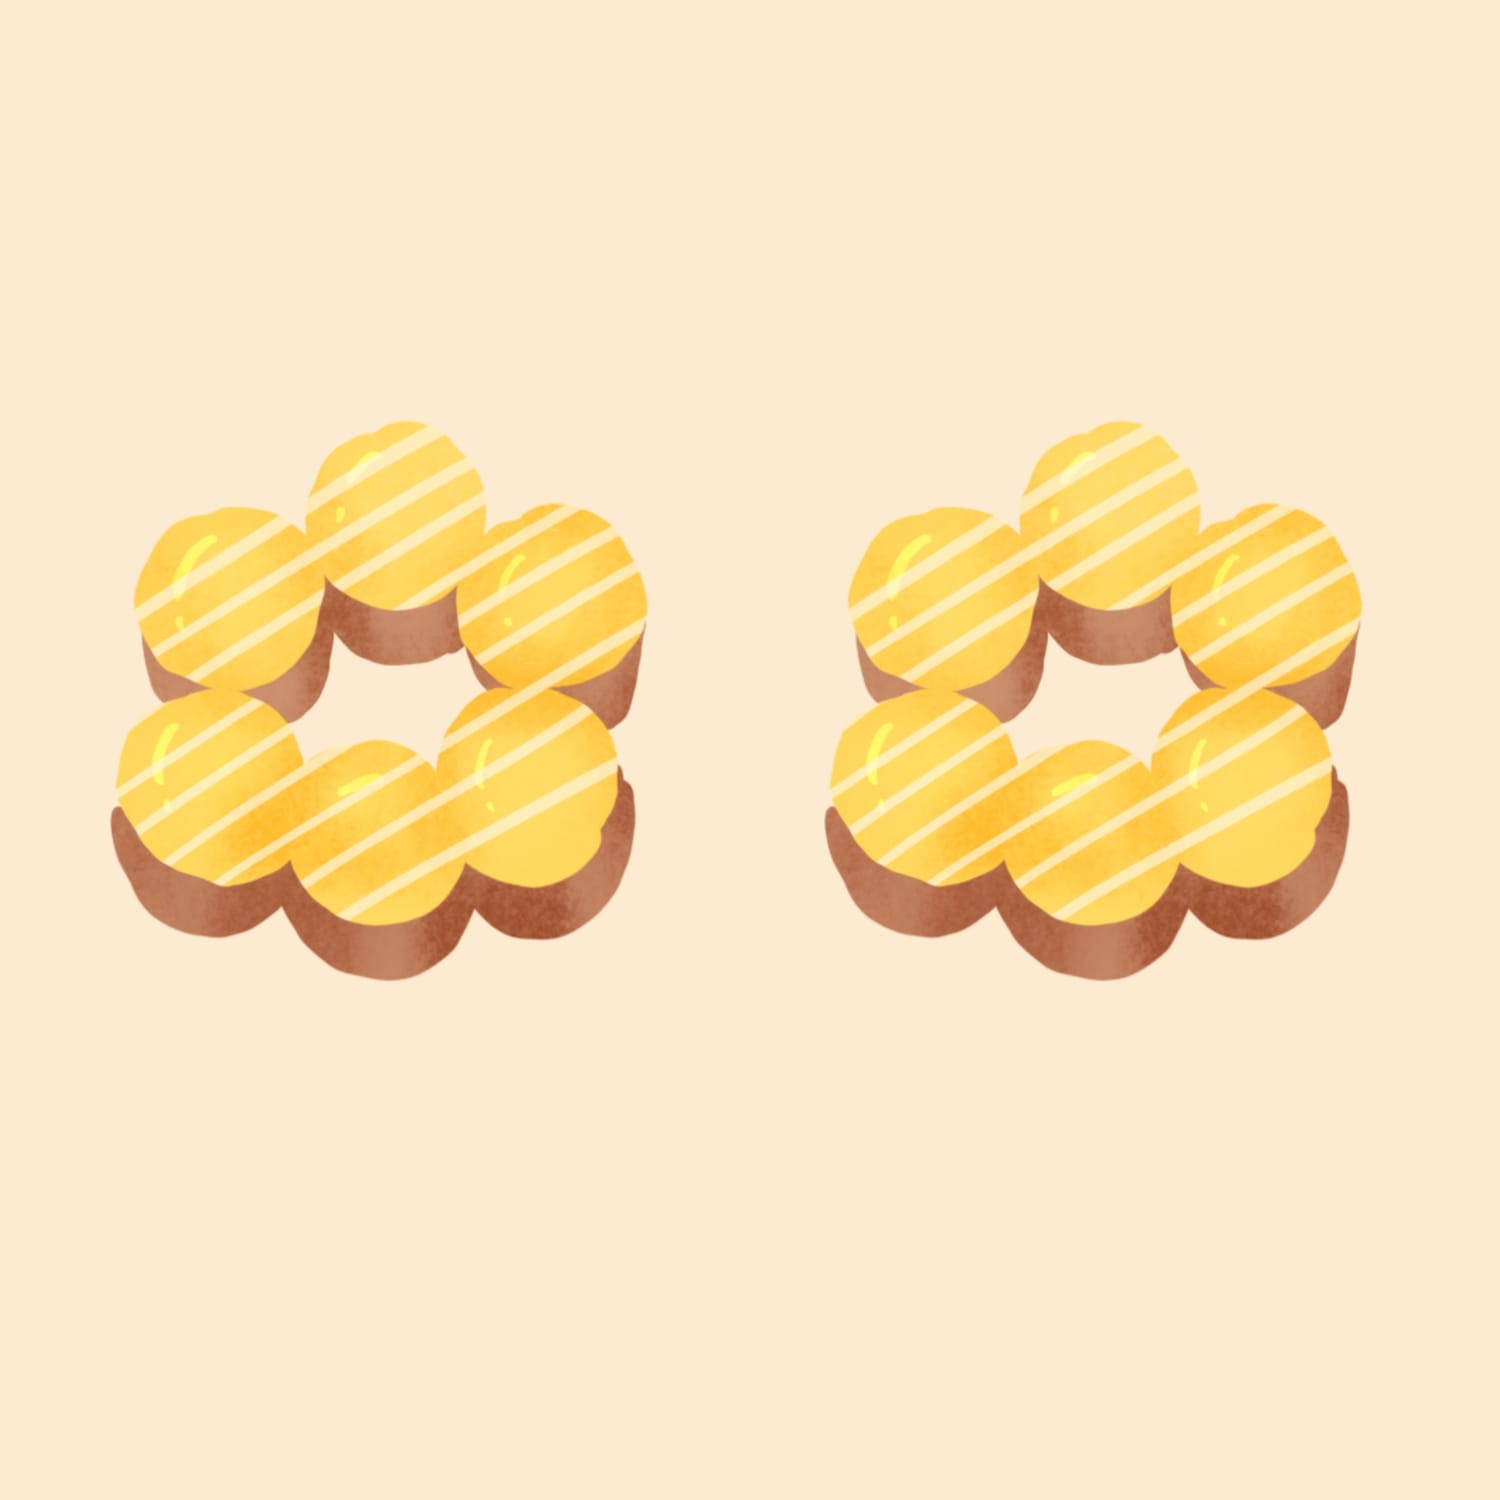
Step 2 — Resize Your Motif
Duplicate the illustration layer and hide the original (this keeps a backup).
Resize the duplicate so that two copies could comfortably fit across the canvas. Leaving a bit of spacing helps the pattern feel more balanced.
Rename this layer something like “Resized.”
You just created the first row!
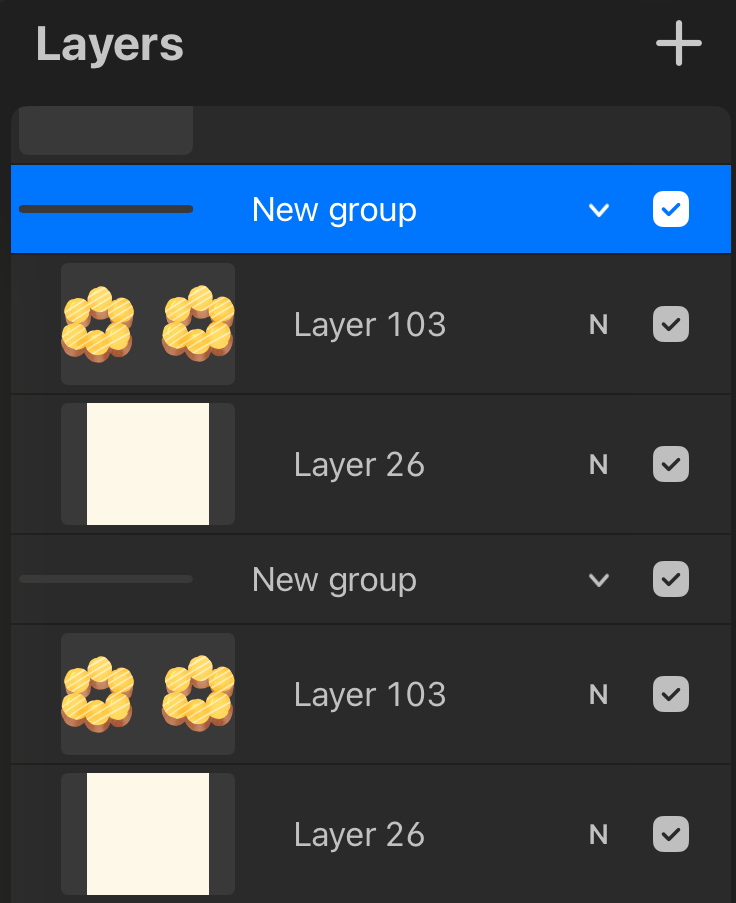
Step 3 — Prepare the Canvas for Alignment
Create a new layer and fill it with any color. Reduce the opacity to about 50%.
Group this colored layer with your pattern row. Duplicate the group so you now have two groups.
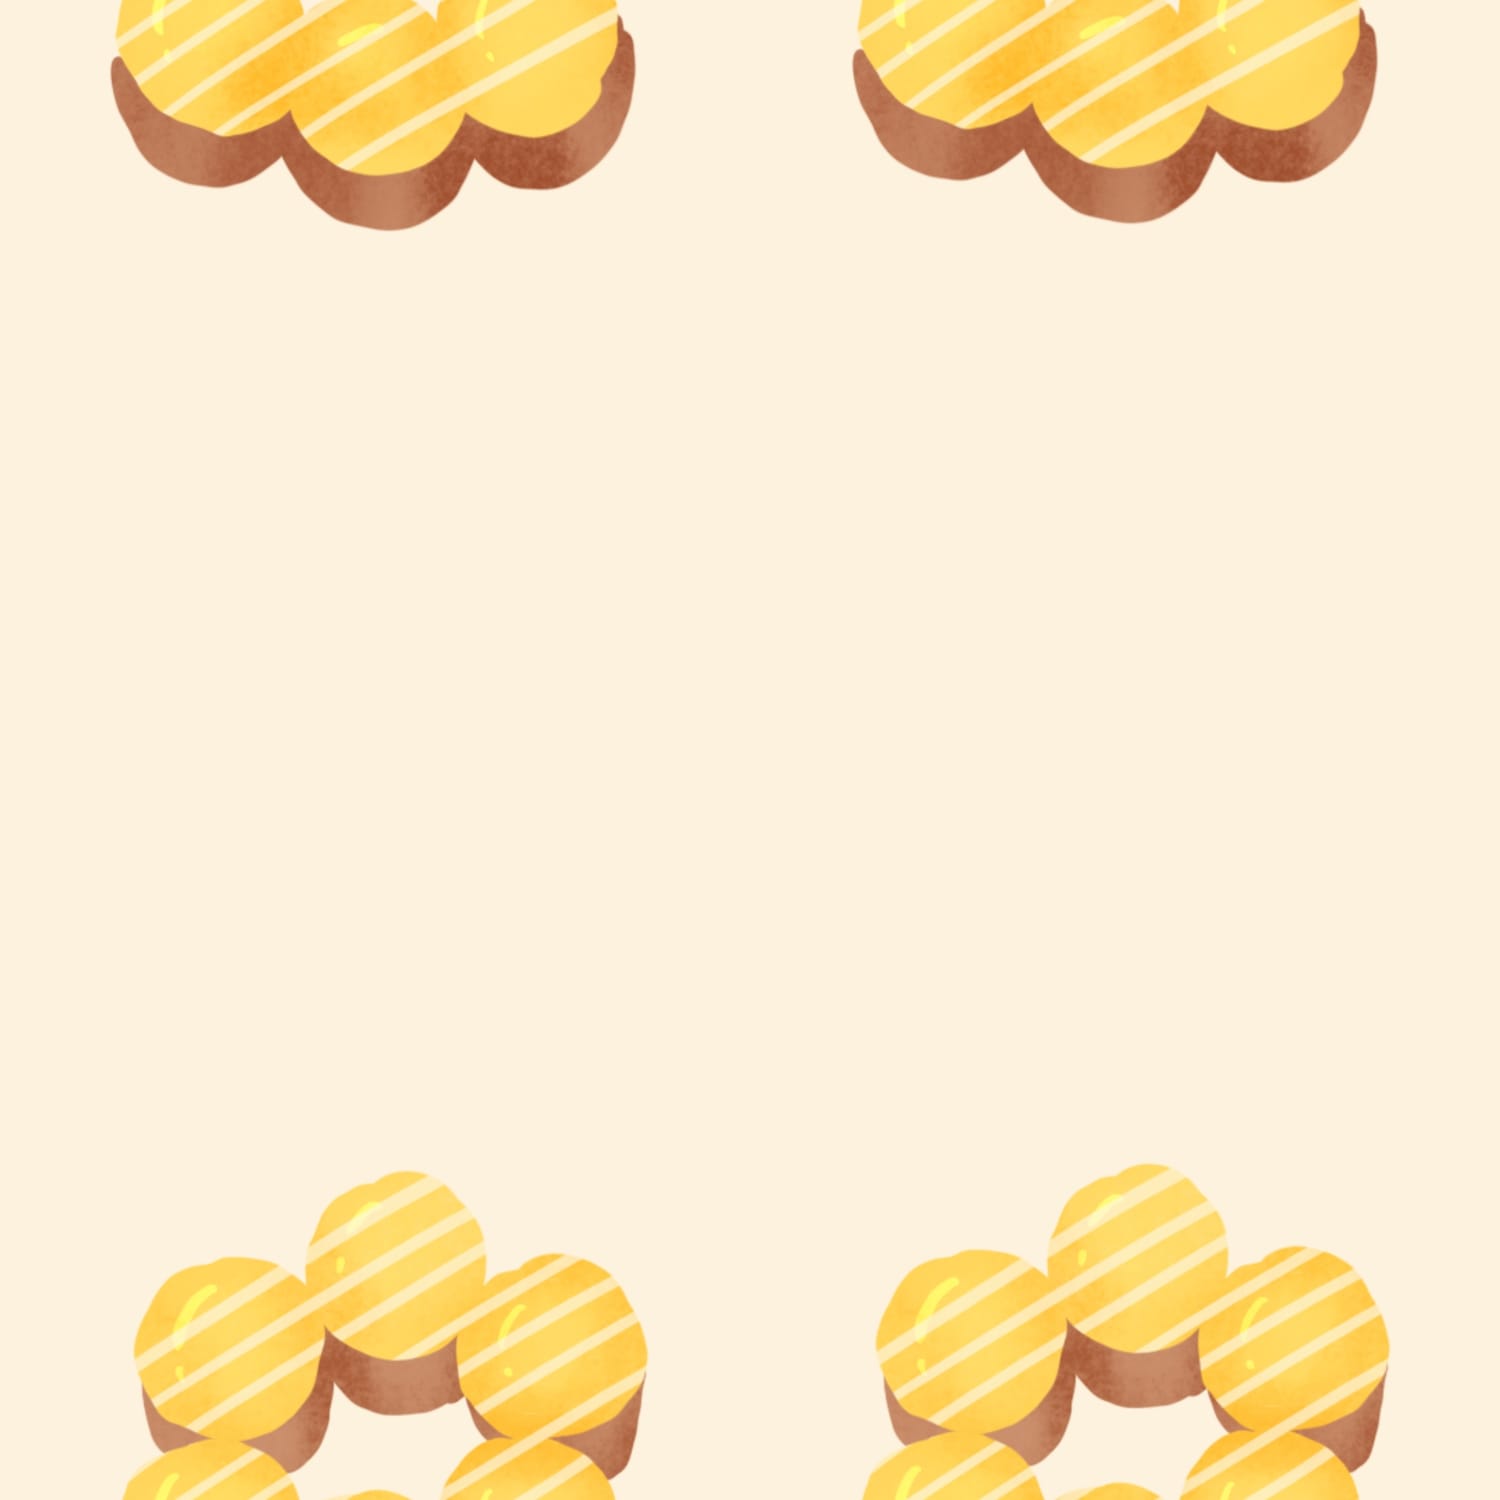
Step 4 — Move the Groups
Using the Move tool with Snapping turned on, move:
Group 1 halfway up
Group 2 halfway down
The snapping lines will help you align everything perfectly.
Step 5 — Merge the Pattern
Delete the colored layers and merge the two groups together.
You now have the base for your repeating pattern.
Make sure to duplicate the original motif to fill in the middle section. You should now have two rows of your illustrations.
Step 6 — Move the Groups Again
Repeat step 4 again but this time move the groups half way to the left and half way to the right.
In this instance, the left and the right will look exactly the same, but it's still good practice to do this step.
Step 7 — Test the Pattern
To test the repeat:
Duplicate the pattern into four groups.
Resize each group and place them into the four corners of the canvas.
Remove the colored guide layers and merge everything together.
If the edges align seamlessly, your pattern works!
Creating a Brick Repeat
To create a brick repeat, follow the same steps you used for the grid pattern.
Once you have your base pattern layer:
1. Duplicate the resized motif again and place it in the center.
2. Repeat the grouping process.
3. Move one group halfway to the left and the other halfway to the right.
This creates the staggered “brick wall” effect.
If a gap appears in the center, simply place another motif there to fill the space.
Then repeat the testing step to confirm the pattern tiles correctly.
Creating a Half Drop Repeat
A half drop repeat uses a similar process, but the motif moves vertically instead of horizontally.
Start by placing your motifs above and below the center instead of left and right.
Then repeat the grouping and alignment steps.
Move one group upward and the other downward by half the canvas height.
Fill the center area with another motif if needed, and test the repeat just like before.
Final Thoughts
Pattern design might seem technical at first, but it becomes much easier with practice.
Start with simple illustrations and focus on how they repeat across the canvas. Even the smallest drawings — a flower, snack, or mug — can turn into beautiful repeating designs.
Once you understand these three repeat structures, you’ll have a strong foundation for creating patterns for stationery, fabric, packaging, and more.
Happy designing — and have fun experimenting with your own motifs.